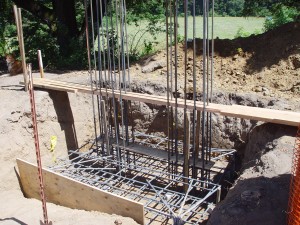
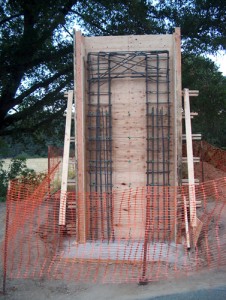
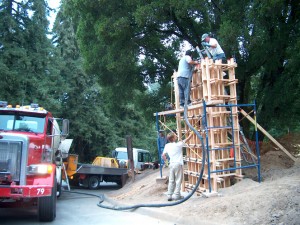
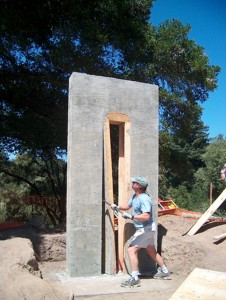
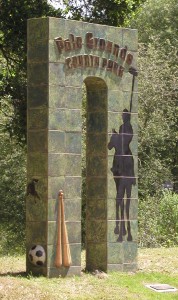
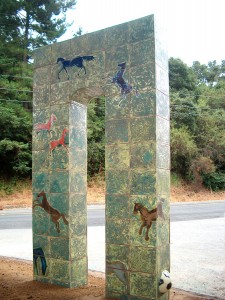
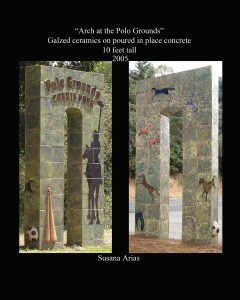
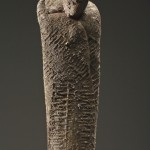
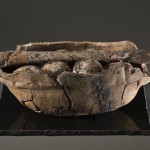
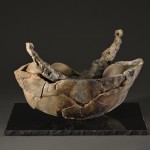
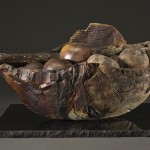
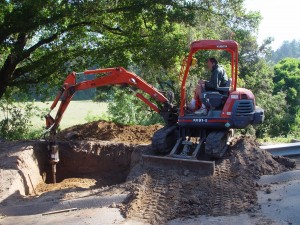
These are images of the construction of the Arch. It is in Aptos California. Created in 2004
Tag Archives: working in clay
Video on my installation of the Sailmaker exhibit at the Museum of Art and History in Santa Cruz, California
Sailmaker Series
These are sketches to commence my new series of sculptures.
The Sailmaker series
EDGE: Art on the Westside Exhibit
My studio is on the Westside of Santa Cruz, California. There is an exhibit of a few artists from this very artistically rich area at the Blitzer Gallery

Home
Making Clay Birds colored with Terra Sigillata
This is a step by step presentation on how to make stylized clay birds and the use of Terra Sigillata to color them. How to burnish them, and after a cone 019 bisque how to smoke them in a can. The bisque can go to cone 06 if the ware needs to be stronger.
The most important points when building a sculpture that you are going to burnish are: 1. score the clay very well, 2. make sure there are not many nooks and crannies, 3. make surface as smooth as possible
Terra Sigillata is a thin slip used to coat dry green ware to get a high satin gloss without a glaze, by using either a soft cloth to polish or a rock depending on the kind of sigillata you use.
This is a good project for everyone. I have taught this to grades K-8, and I have used this process in my own work.
If you do not want to smoke the pieces, you can: 1.leave them with the sigillata, 2. put them in a saw dust can fire, 3. oxidation pit fire, 4. reduction pit fire, or you can skip the whole terra sigillata part and just glaze them after a cone 04 bisque.
This is a picture of some of my Terra Sigllata Bowls. 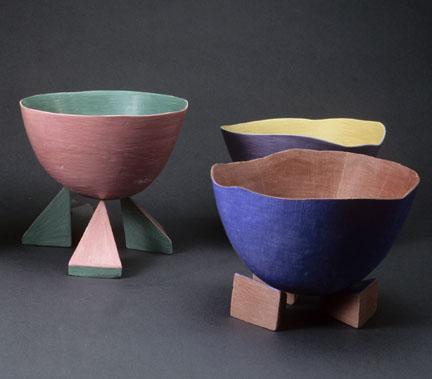
These bowls were made with a very basic terra Sig of ball clay and talc, and lots of elbow grease with a polished rock. What I like about this finish is that the rock gives the clay a texture from the direction in which the rock is rubbed. Creating a pattern that can enhance the piece.
HOME
Making a Ceramic Tiles Chair
This is a step by step project on how to make a ceramic tiles chair. Beginning with the stucco armature, covering it with foam to allow for the 10% shrinkage of the clay, draping and sculpting the clay, cutting it into tiles, bisque and glaze firing the tiles and finally using thin set to attach them and grout to finish it up.
